
Panning with the vehicle here at a shutter speed of 1/500 freezes the action of the vehicle and the surrounding.

Slight motion introduced in the surroundings and wheels of the vehicle at this shutter speed.

f/6.3-1/200-100-40mm
More motion is detected in the surroundings at this shutter speed.

f/10-1/100-100-40mm
More motion is detected in the surroundings at this shutter speed.

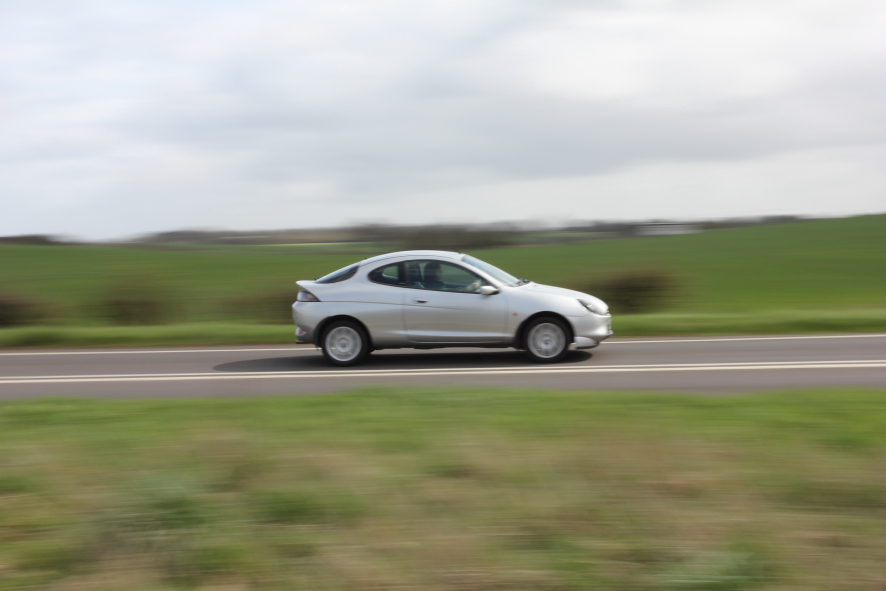
f/18-1/60-100-40mm
The appearance of movement is now more apparent as the scene illustrates more motion blur while keeping the vehicle in focus.

f/16-1/40-100-40mm
More motion is detected in the surroundings at this shutter speed.
f/20 -1/30-100-40mm
More motion is detected in the surroundings at this shutter speed. Vehicles are now becoming more difficult to keep focused while panning free hand.

f/22-1/20-100-17mm
Large amount of motion is detected in the surroundings at this shutter speed. This gives the appearance that the vehicle is travelling fast.
While taking the photo it should be noted that the effect on the surroundings differed significantly depending on the speed the vehicle was travelling at. At Shutter speeds of 1/20 each shot became more difficult depending on the vehicle approaching and amount of movement that was involved while panning.
Looking at the exercises involving movement I am drawn more towards the lower end of the shutter speeds which in "Shutter Speeds" was around the 1/50 mark as this gave the appearance of the jet of water in smooth lines and the splash around the base of the fountain was still slightly in focus and not overly blurred. I like the rainbow effect through the fountain, which was very dependant on light and wind.
Moving on to the panning exercise its nice to illustrate this principal with fast moving objects. However the faster they go while shooting at slower shutter speeds made getting the right photograph very challenging. Again here I prefer the speeds of 1/20 which make the foreground and background nicely blurred while the vehicle remains in focus.


